
Thursday, August 29, 2013
Masking Doily
Thursday, August 22, 2013
Itty Bitty Butterfly punch
Today's card uses a variety of color, embossing folders, Papillion Potpourri stamp set, and the Itty Bitty butterfly punch.
 The strips of cardstock are all 7/8 inches wide. The lengths are cherry cobbler-4 3/4 in., baja breeze-4 in., rose red-3 1/4 in. and So Saffron-2 1/2 in. First I punched a guide (7/8 x 4 3/4) so the angles of the butterfly would be consistent for all the colors. Line up the guide at one end of each color and punch off the end of the piece. Stamp the little butterfly onto matching cardstock and punch out. I just lined up the outside two colors onto the card front and centered the other two in the middle to line up the strips. Just email me, if you have any questions.

Monday, August 19, 2013
Easy Events card
It's back to school! Not sure that I am ready, but I had better get there. We have two days of teacher in-service and then the kids arrive on Wednesday, August 21.
I know I won't be able to keep up with posting to my blog everyday so I'm going to try and post on Mondays and Thursdays. If I at least give you this information, you will know when to check the blog for something new. I might be able to throw in something extra every once-in-a-while.
Today's card is using a retired set, Easy Events. The dimension on the flowers are using matching card stock and punching the little flower from the Itty Bitty Shapes punch set.
 See you Thursday!
I know I won't be able to keep up with posting to my blog everyday so I'm going to try and post on Mondays and Thursdays. If I at least give you this information, you will know when to check the blog for something new. I might be able to throw in something extra every once-in-a-while.
Today's card is using a retired set, Easy Events. The dimension on the flowers are using matching card stock and punching the little flower from the Itty Bitty Shapes punch set.

Sunday, August 18, 2013
Six-sided Sampler & Label Love stamp sets
Fall Treasure Hunt will be coming soon! More details later.
Another couple Six-Sided Sampler cards for you today. These cards come together really quickly. Which is what I need most of the time. Same card only the brads are different colors and the sentiments are different. The sentiments are from the Label Love stamp set and the designer series paper is punched out with the coordinating punch.


Another couple Six-Sided Sampler cards for you today. These cards come together really quickly. Which is what I need most of the time. Same card only the brads are different colors and the sentiments are different. The sentiments are from the Label Love stamp set and the designer series paper is punched out with the coordinating punch.


Saturday, August 17, 2013
Creel/Fishing Scrapbook final
So you've seen the creel, the fish, and the fishing stories mini so here is the final blog post for the Creel/Fishing Scrapbook project. Bobbers and lures for more places to insert pictures and journaling.


 Hope you enjoyed my scrapbooking project. I purchased the pattern online from a very talented paper designer, Laura Denison. If you have any questions, just email me.


Friday, August 16, 2013
Creel/Fishing Scrapbook continues
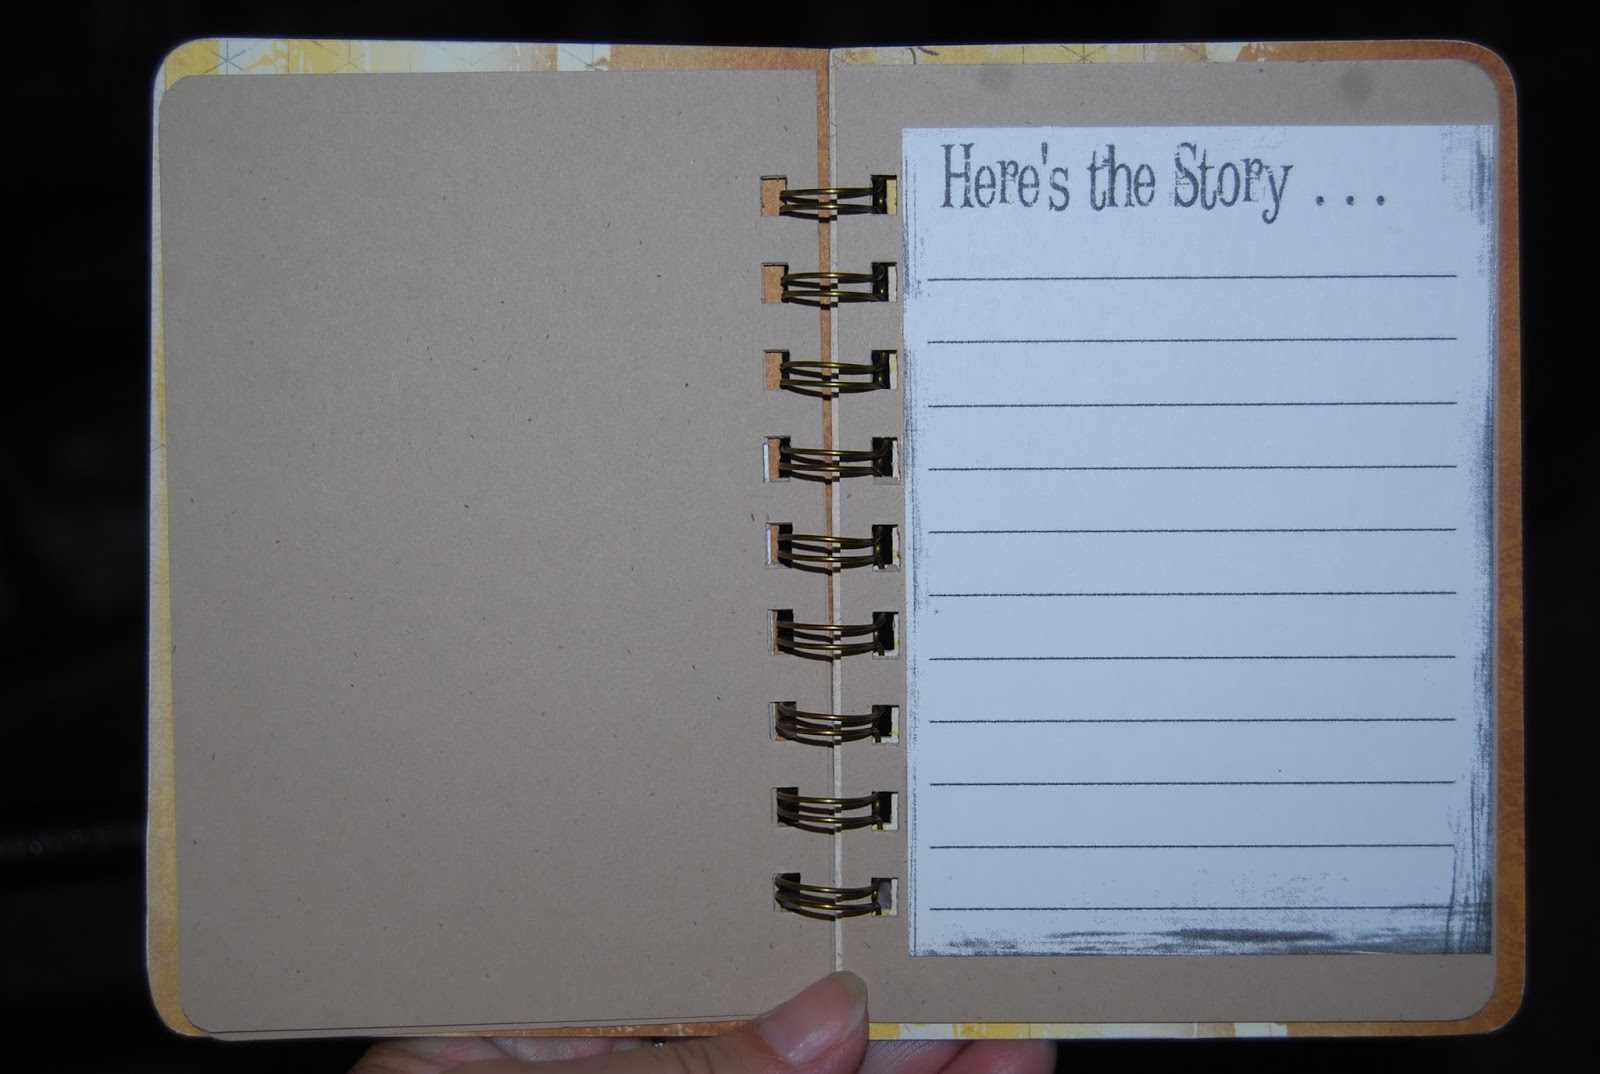
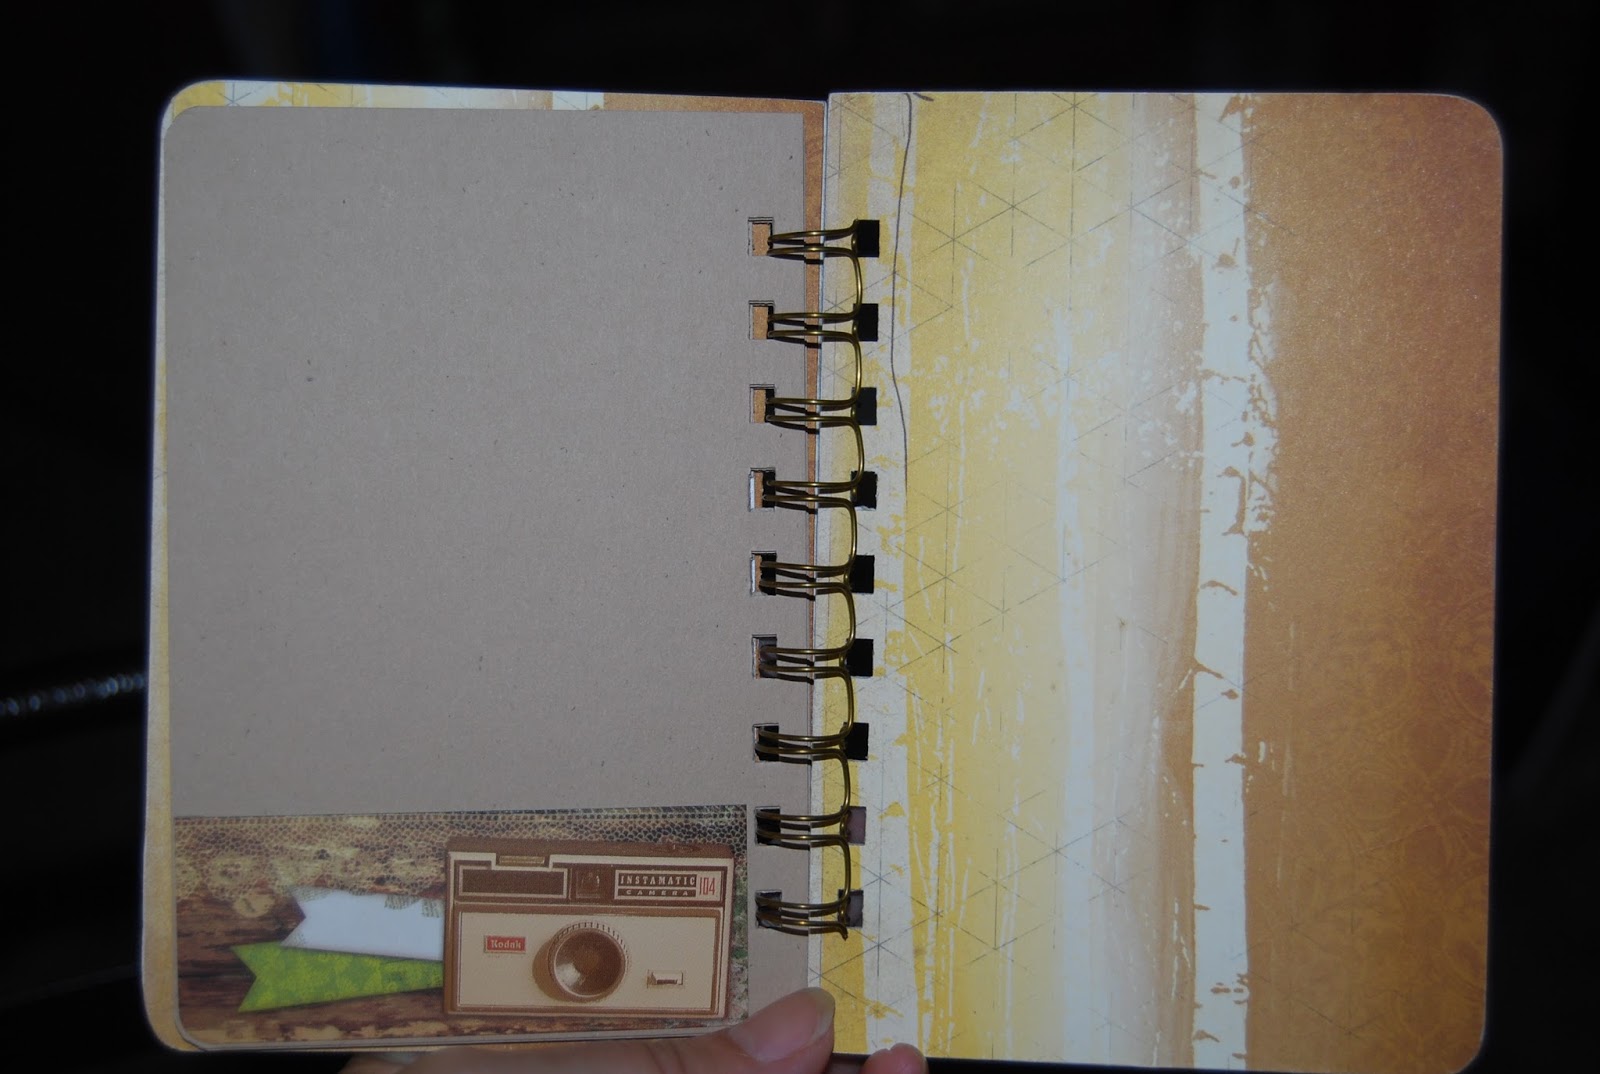
Can't have a creel without a place to store those "Fishing Stories." This little mini also goes in with the fish in the creel. A lot of space for pictures and of course the story that goes with it.


Thursday, August 15, 2013
Creel/Fishing Scrapbook continues
I will share with you the fish first. They are made with a piece of chipboard and covered on both sides with cardstock to look like a fish. The body opens up so photos or journaling could be added inside. The flap tucks under the fin.
 I have hardware pieces to make the stringer.

 The fish measure about 9 inches long and about 4 1/2 inches wide. Pretty colorful fish don't you think.


Wednesday, August 14, 2013
Creel/Fishing Scrapbooking Project
Friends of our church were blessed to celebrate their 60th wedding anniversary so I knew I needed to make them something special. They both enjoy fishing so I thought I could tie the celebration and fishing together. I have several pictures so I will spread them out over the next few days. Here is the Creel made out of chipboard and covered with cardstock. I'm making a second creel for my son for his wedding day, but that one I've covered with burlap instead of cardstock. I'll share photos when I'm done with that one later. I've added the embellishments (greenery, compass, bobber, fish net) on the top.
 Notice the "great catch" sticker on the flap.
 I cut their picture out of the newspaper and placed it under the small flap.
 The creel opens up to reveal all the extra stuff to place a bunch of their memories.
 You can see part of the fish on this picture. Closer pictures will come later.
 I bet you are in great suspense. Just kidding!


Tuesday, August 13, 2013
Preschool Mini Album continued
Here are the pages of the preschool mini album. I had asked the preschool teacher to give me some of the Bible verses that the girls would have been familiar with. I need to adjust my printouts to allow for the binding next time. I printed the verses using my laptop and then added some stamping, punched flowers, and ribbon to embellish the different pages. On the opposite sides, I printed pictures of the girls and attached.


 I hope the girls will enjoy their little keepsake and remember that Jesus does love them.


Monday, August 12, 2013
Preschool Mini Albums
I've had these pictures since the end of the school year of a little mini album I made for the two preschoolers that attended our churches preschool. Here is the cover. I left a blank line so the child could write their own name on the line. Remember we are talking preschool aged girls so I thought it would be priceless to see their own handwriting.

 I made the charm that has a heart that says "made with love" and of course included a cross. Each page is made out of a 4 x 4 piece of chipboard. I'll show you the pages tomorrow.


Sunday, August 11, 2013
Paper flower card
I've had these paper flowers forever and finally saw an idea to use them. A very clean and simple card. The colored designer series polka-dotted paper behind the paper flower are cut into 1 inch squares and then 1/2 corner rounded on the two sides.


Saturday, August 10, 2013
Field Flowers card
Here's another card made for the craft show.
 Stop by the craft show today, at the Community Center in Chambers, Nebraska, from 9:00 a.m.-3:00 p.m.

Friday, August 9, 2013
Red Solo Cup card
I just had to give this one a try. I know a couple people I will be sending these to, if I don't sell them at the craft show. I took a cup image off of Internet and sized it down to 1 inch. I printed them in white and used a marker to get them red. I also made the sentiment on the computer and printed it off too. I added crystal effects to the cups to give them a glossy shine. Kind of fun!


Thursday, August 8, 2013
Paper piercing and flowers
Another Pinterest idea . . .
 I used different sentiments in the middle. The leaves are made from the bird punch. I used five total. The larger flower is from a die and the smaller ones are from the Itty Bitty Shapes Punch.

Wednesday, August 7, 2013
Pinwheel card
I'm not sure if this was a quick card, but just a little extra time put in to making the pinwheels. I had purchased the die a long time ago, but just didn't ever find the right card to use it with. Hope you like it.
 If you have any questions, just email me.

Tuesday, August 6, 2013
Embrace Life
I committed to a craft show this Saturday, August 10, in Chambers so I decided to make several quick cards so I would have some to display and hopefully sell. We are having the county fair so hopefully there will be a few people in town. If you are in the vicinity, stop by. The craft show is in the new community center right on the main street of town, from 9:00 a.m. - 3:00 p.m.
 I used a discontinued stamp set, Embrace Life, for the cherry blossoms. Any sentiment can be placed to the right of the flowers. I did add some crystal effects to the the flowers and just a small amount of dazzling diamonds glitter to give it a little sparkle. The striped background is 1 1/4 inch wide and the squares are 1 1/2 inches. More of the cards I've been making tomorrow.

Monday, August 5, 2013
Label Love Stamp set
Label Love stamp set and coordinating punch were used for this clean and simple card. I found this idea on Google. The button was made using the Simply Pressed Clay and the button clay mold that can be found on pg. 167 of the catalog. This is really cool stuff. I added a drop or two of Perfect Plum re-inker to the clay and it matches the ink perfectly. The button stays spongy so I'm not so worried about the card being too thick. I also don't fill the mold completely so the button isn't as thick either.
 Let me know, if you have any questions.

Sunday, August 4, 2013
Levi's 23rd birthday
My oldest son celebrated his birthday with us this morning. I'm glad he still finds time to come home to see us. I made him a big cookie and that is what we had for breakfast. Yum!

Saturday, August 3, 2013
Six-Sided Sampler card #3
Grunge look is in! So here is another card using the Six-Sided Sampler stamp set and my take on grunge. Added some washi tape that I bought and needed to use. Are you tired of the Six-Sided Sampler stamp set yet? Such an easy stamp set to work with and goes along with just about anything. I do think I will have to purchase the Honeycomb embossing folder.
 I also purchased the Label Love stamp set with coordinating punch. Maybe I'll have to move on to that stamp set for a change.

Friday, August 2, 2013
Six-Sided Sampler card #2
Here's another idea for the Six-Sided Sampler stamp set. I Google for ideas and then mix up the colors a bit. Very simple and easy card. The paper is from the This and That Epic Day designer series paper. If you have any questions, just email me.


Thursday, August 1, 2013
Six-sided Sampler card #1
One of my purchases from the new catalog was the Six-Sided Sampler stamp set and coordinating punch. I like to purchase the stamp sets that have coordinating punches because they tend to stay in the catalog longer. I'll be sharing some ideas using this stamp set over the next few days. Here is the first card I made.


Subscribe to:
Posts (Atom)